Showing posts with label mondaymani. Show all posts

Monday, August 11, 2014

pretty: manicure monday (glittery water decals)

Here's my first attempt at a manicure using water decals. If you're not familiar with water decals, they work the same way temporary tattoos do; you cut the image you want, soak it in water for 10-20 seconds, slide the image away from the soaked paper backing and then place it onto your nail. Okay, so it only sort of works the same way temp tattoos do, ha! I was wary of using water decals because it seemed like a hard procedure but let me tell you, it was super simple! As long as you have all your materials ready to go, applying the water decals is a snap!

Here's how it works:
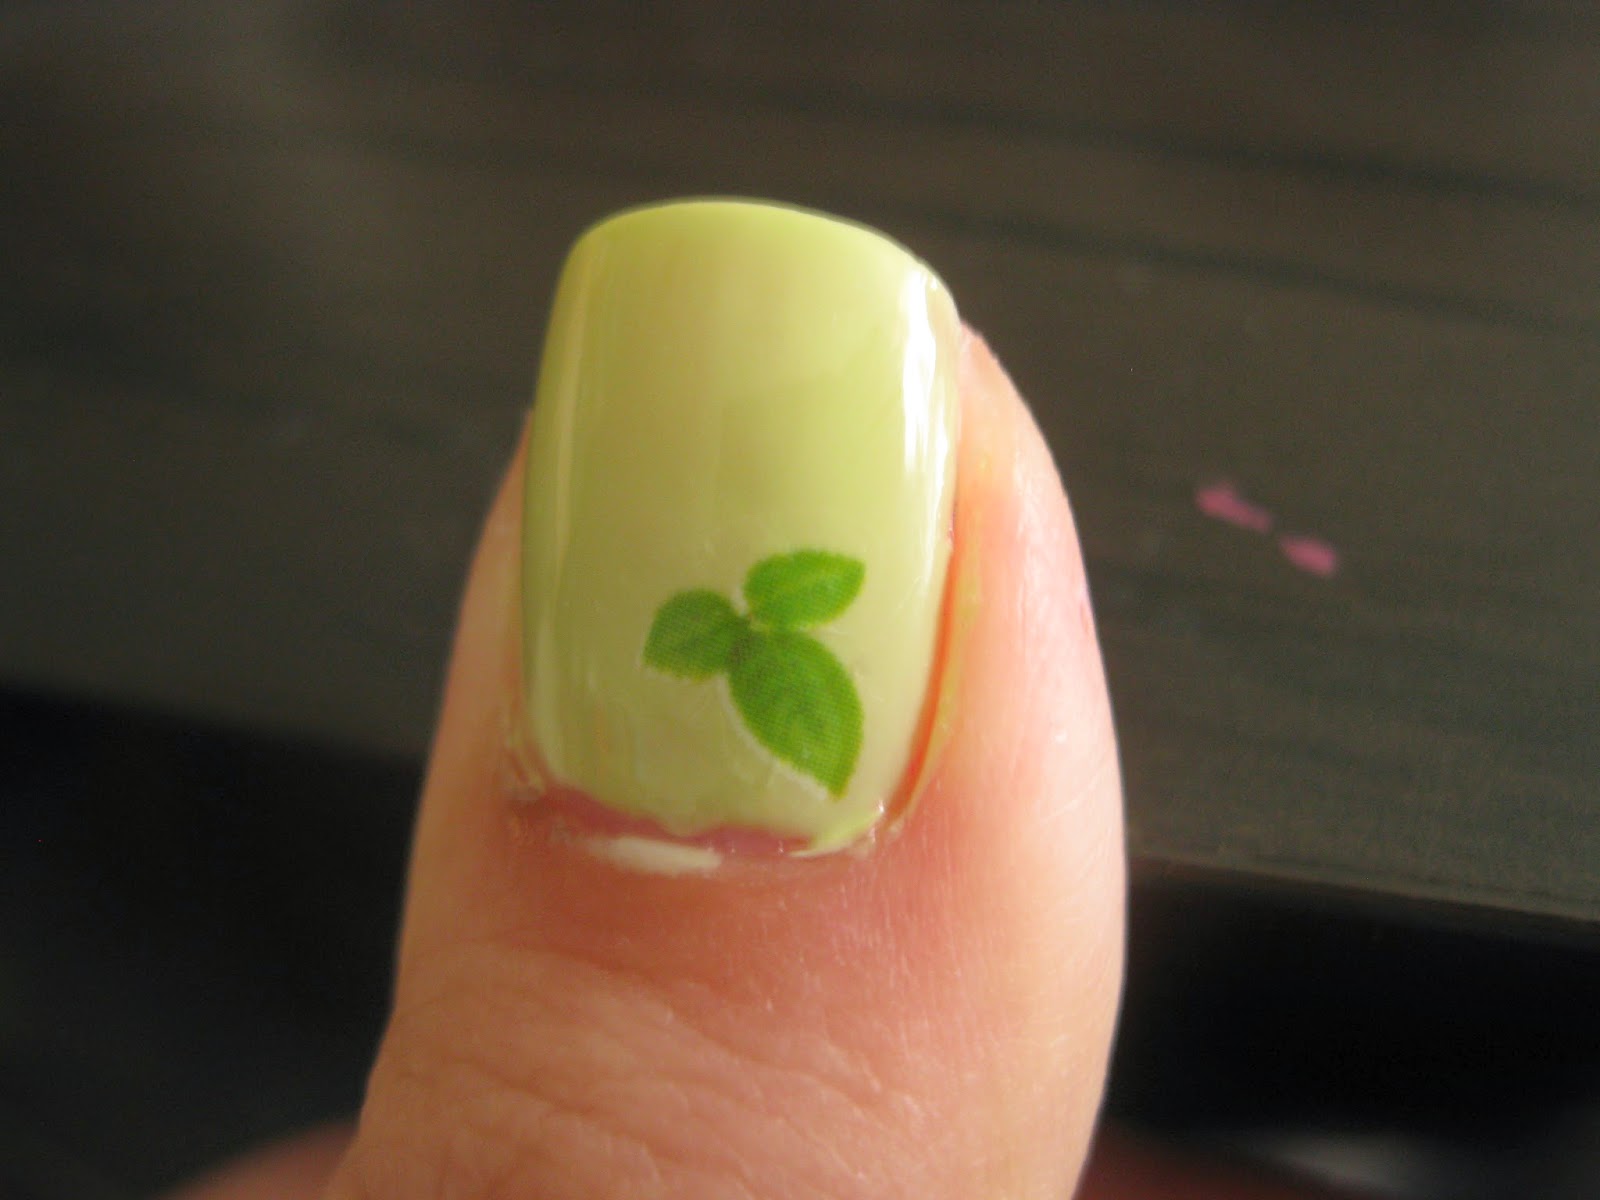
Prep your nails and apply a base colour. I used three thin coats of OPI Gargantuan Green Grape followed by Essie To Dry For to speed up the drying process. I then gathered all of my water decal materials and got to work.

Tools to gather:
- water decals
- small bowl with warm-ish water
- scissors
- tweezers


Here's a close-up of some of the decals I used:
Make you sure submerge the whole decal in the water because if you just drop the decal in, most likely it'll float and the decal won't come off the paper backing properly.
After 15-20 seconds, remove the decal from the water with your tweezers, place on a fingertip and separate from the paper backing with a slight rubbing motion between your thumb and index finger. Another option is to use your tweezers to slide the decal to the side of the bowl and using your index finger, slide it off the backing. I hope that makes sense because I have no image of that. Anyway, this is what it'll look like on your finger:
Carefully place the decal on your nail trying to get it into the correct position on the first attempt. Don't sweat it if you can't because you can slide the decal around as long as it stays slightly damp. It's best not to mess around with it too much in case you end up tearing the decal, which I definitely ended up doing, oops! Once your decal is in place, give it a few seconds for the remaining water to dry and then smooth out any wrinkles.
Apply as many decals as you want! Here's my finished water decal manicure including a glittery accent nail in OPI Spark De Triomphe from the Serena Williams Grand Slam series.
I also decided to add a little glitter using OPI Pirouette My Whistle. Here's a close-up:
So add a little bit of decal pizzazz to your mani and let me know how it goes!

Monday, August 4, 2014

pretty: manicure monday (glitter gradient)

So technically it's Tuesday but it's always glitter time! Here's one of my favourite glitters of all time, Fluffy Macaroons from Loaded Lacquer. From the Loaded Lacquer website, Fluffy Macaroons is described as a clear base with "plum, periwinkle, yellow, marigold, cotton candy pink, purple and white hex and squares and holographic sparkle." It is unbelievably awesome! All kinds of pastel shades and shapes in a clear base. I decided to do a gradient with the glitter polish using OPI Skulls & Glossbones as my base. It's a fantastic grey that isn't too dark or too light. It's pretty much the perfect shade for any nail art including stamping, glitters, etc.
Matou wanted the check out the glitter action.
I don't know about you but the easiest way for me to do a glitter gradient is to start with the smaller glitter on the brush and applying that about halfway from one end and then let it dry slightly and slowly build up more glitter. I tend to have a problem getting the bigger pieces on and it's even harder for me to fish them out of the bottle so I swirl my brush around the bottle then wipe the excess on the inside of the neck of the bottle. That way I can then "pick" up the specific glitter from the neck of the bottle. I hope that makes sense. Maybe a video would be best in this instance because that's the best way I can explain it.
 Here's a sort of close-up of the finished mani. Photographing glitter in the sun with one hand is actually really hard!
This is more of a "true" colour swatch of the OPI polish.
That's it for this Monday!

Monday, July 28, 2014

pretty: monday mani (with striping tape)

This is probably my favourite mani to date but also one that took the longest to create. My inspiration came from Sugar Nails but the website isn't functioning at the bottom. Once it does or moves to another location, I'll be sure to include the photo here. Basically imagine a mani featuring gold stripes with a purple ombre effect on top.

Here's how I got started with my version of said manicure. On my left hand I used a green and turquoise and on my right hand I used a magenta and pink to create the ombre effect. I started by getting all my equipment ready and prepping my nails. 

For this mani you'll need the following items:
- Base coat (OPI Natural Nail Base Coat is my fave)
- Matte top coat (optional)
- Base polish (OPI Love Angel Music Baby is the gold I used)
- Polish colours for ombre effect (I used two from Ardene)
- Top coat (OPI Top Coat pictured here)
- Scissors
- Striping tape (I bought mine at a local nail art store for $1 each)
- Cosmetic wedges (Make sure yours are latex-free if you're allergic like me!)
All tools required minus the freezie in the background
Start by cutting your striping tape and adhering to something you can pull it off of easily (ie: nail polish remover bottle, edge of desk, etc). I used approx 4-5 pieces of tape per nail so I cut at least 20 strips.
Paint nails with your base colour and apply matte polish, if necessary. I used OPI's Love Angel Music Baby which is a satin finish and therefore I didn't need the matte top coat. I'd recommend the matte top coat just to make the stamping process a little bit easier. Once your base colour is dry, add the pieces of striping tape in whichever way you want. I connected some and disconnected others so it didn't look like too much of an actual pattern.
Once you're happy with the placement, paint the cosmetic wedge with both colours of polish to create an ombre effect on the wedge. Tap it once to remove any excess polish and then tap it onto your first nail. Do one time at a time since it'll make the finished product look more "polished." Don't tap the polish onto your nail too hard either, because that'll cause small pieces of the wedge to come off onto your nail, which is really hard to remove.

I use a new section of my cosmetic wedge for each nail so that I have a clean look. Continue with each nail and then continue with the other hand until you're done! Use a top coat to finish your look and enjoy the results!
I had great results with this type of mani and many compliments wherever I went. Even though this mani took me a lot longer than I was used to (90 minutes including dry time in between), I would definitely do it again with other colours.