Here's my first attempt at a manicure using water decals. If you're not familiar with water decals, they work the same way temporary tattoos do; you cut the image you want, soak it in water for 10-20 seconds, slide the image away from the soaked paper backing and then place it onto your nail. Okay, so it only sort of works the same way temp tattoos do, ha! I was wary of using water decals because it seemed like a hard procedure but let me tell you, it was super simple! As long as you have all your materials ready to go, applying the water decals is a snap!
Here's how it works:

Prep your nails and apply a base colour. I used three thin coats of OPI Gargantuan Green Grape followed by Essie To Dry For to speed up the drying process. I then gathered all of my water decal materials and got to work.
Tools to gather:
- water decals
- small bowl with warm-ish water
- scissors
- tweezers
Here's a close-up of some of the decals I used:
Make you sure submerge the whole decal in the water because if you just drop the decal in, most likely it'll float and the decal won't come off the paper backing properly.
After 15-20 seconds, remove the decal from the water with your tweezers, place on a fingertip and separate from the paper backing with a slight rubbing motion between your thumb and index finger. Another option is to use your tweezers to slide the decal to the side of the bowl and using your index finger, slide it off the backing. I hope that makes sense because I have no image of that. Anyway, this is what it'll look like on your finger:
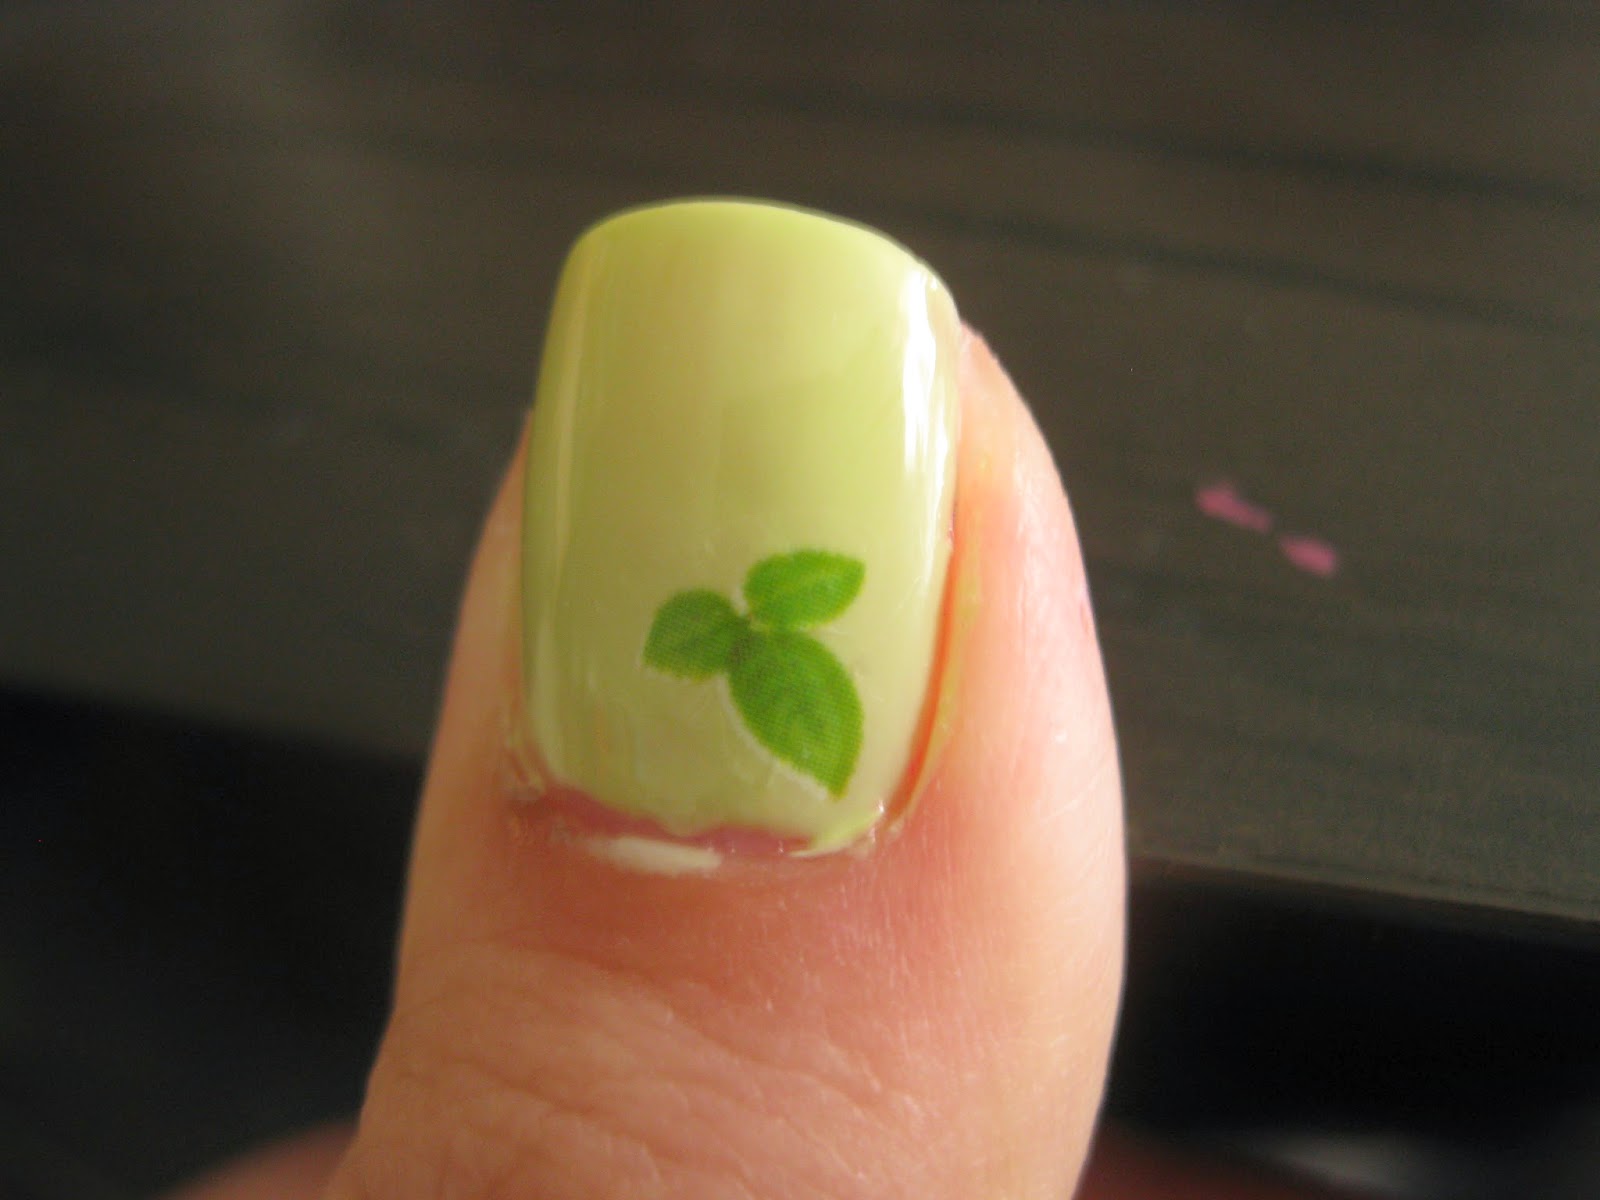
Carefully place the decal on your nail trying to get it into the correct position on the first attempt. Don't sweat it if you can't because you can slide the decal around as long as it stays slightly damp. It's best not to mess around with it too much in case you end up tearing the decal, which I definitely ended up doing, oops! Once your decal is in place, give it a few seconds for the remaining water to dry and then smooth out any wrinkles.
Apply as many decals as you want! Here's my finished water decal manicure including a glittery accent nail in OPI Spark De Triomphe from the Serena Williams Grand Slam series.
I also decided to add a little glitter using OPI Pirouette My Whistle. Here's a close-up:
So add a little bit of decal pizzazz to your mani and let me know how it goes!


No comments:
Post a Comment